How to create a responsive website - Tutorial
This tutorial will show you step by step how to create a responsive website easily, using the free editor "RocketCake":
What is a responsive website?
"Responsive" is just a fancy word for "adjusting to the screen size". Since people are viewing websites with different devices - mobiles, tablets, PCs, notebooks - it has become very important for a website to be easily readable on all the different screen sizes: A responsive website works automatically nicely on the tiny 320x600 screen of a small smartphone, but also on a full screen 2048x1024 browser of a desktop PC. This is done for example by adjusting font sizes, rearranging and hiding elements, and making it easily scrollable on mobiles. All this is easily doable using RocketCake.
Step 1: Download and install RocketCake
If you haven't done this yet, you need to download and install RocketCake. It is a free responsive website editor. You can download it from here.
Create a new empty website
After you started the RocketCake program, it will ask you to create a new website from a template. Choose the first entry 'Empty page' to start with a new, empty website. The editor will now look like this:
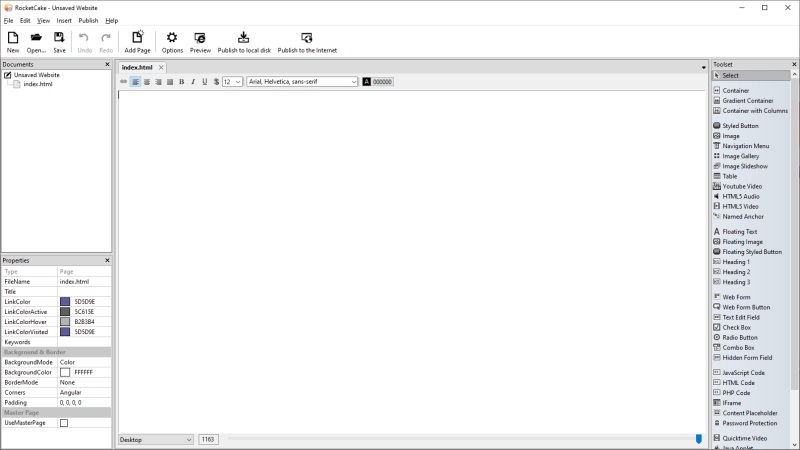
Take a look at the 'Properties' window on the left. Here, you can quickly change the appearance of the page (or whatever element currently is selected). You can enter a Title for your page here (this is the text which usually appears for example in google if it displays your page as a search result) or the default colors for your links. Also, you can set a background color, gradient, or image if you like.
Creating a responsive website
To start, add a Navigation Menu to the page. Select the Navigation Menu element in the toolset on the right, and click into the page. This creates a menu element:
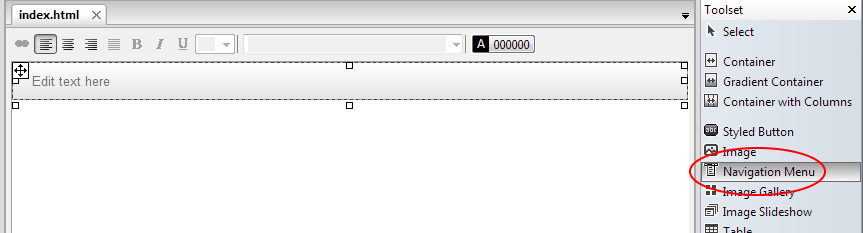
You can click it and directly type text into it in order to create some menu items. Do this, and create the menu items named for example "Company" and "About". Also, you can change the background color, to make your website look fancier, if you like. By default, the menu will have a width of 100%, spanning the full width of the page. This is quite useful, because it will then adjust automatically to different screen sizes.
Try it out: See the horizontal slider on the bottom of the page? Move it to the left and back again: With it, you can preview how the page will look like on devices with different screen widths.
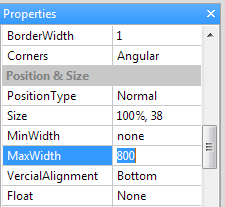
Put the slider back to the right, and we adjust the layout of the menu a bit: First, we set the menu to have a maximum width of 800. That way, the website will look nicer on huge resolutions.
While the menu is selected, in the property window on the left, search for "MaxWidth" entry, and change it "800", so it won't get wider than 800 pixels:
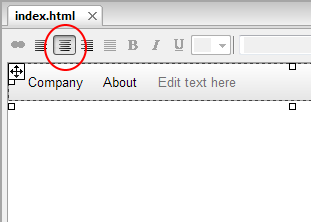
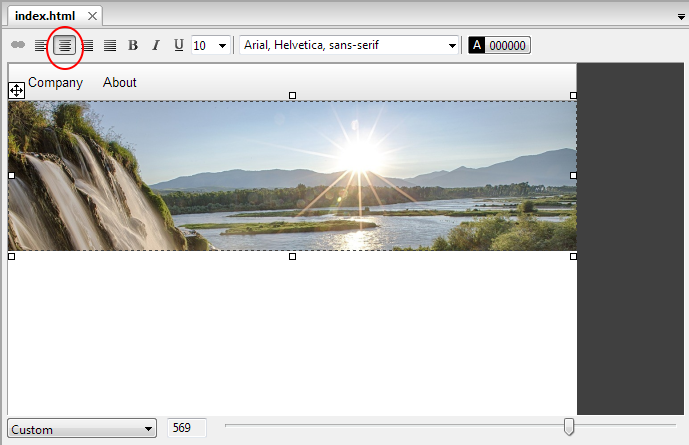
Also, we want the menu to be centered in the container, so click on the "Center Text" button while the menu is still selected:
Add a logo image to your page
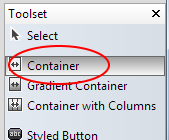
Great! Next, we want an image directly below the menu. We could use the Image element for this, but because we want add some text on top of the image later, we use a Container instead and simply use its background-image property. So:
- Select the Container element in the toolset on the right, and click into the page somewhere below the menu you created.
- Drag the white square of its lower border a bit down to make it bigger.
- Then, in the property window on the left, find the "BackgroundMode" entry, and set it to "Image".
- A new entry "BackgroundImage" will appear, in which you can select some image file from your disk.
- As you did with the menu, search for "MaxWidth" entry, and change it "800".
- Also, click the 'Center Text' button while the container is selected.
The result should look like this (depending on the image you selected):
Add a website body
Now we have a menu, a nice looking image as logo, but we still need to add some real content, like text describing your website. In order to do this, we again add a Container:
- Select the Container element in the toolset on the right, and click into the page, somewhere below the image you added last time.
- In order to make it look the same size as the menu we added on top, do the same as we did with the menu: While the new Container is still selected, in the property window on the left, search for "MaxWidth" entry, and change it "800", so it won't get wider than 800 pixels.
- Also, click the 'Center Text' button while the container is selected.
- Then, click into the middle of the container, and start typing some text. You can format the text anyhow you like:
Insert an image
To make the website text look fancier, you can add an image into the text easily:
- Select the Image element in the toolset, and click into the text, where the image should appear.
- Resize the image to fit your needs.
- Right-Click the image, and in the menu, select "Text Float -> Left", in order to make the text float around the image.
- When the image is selected, in the Property Window, search the entry "Margin", and change it from "0,0,0,0" to "10, 10, 10, 10". This will create a small margin of the text around the image, which then looks much nicer.
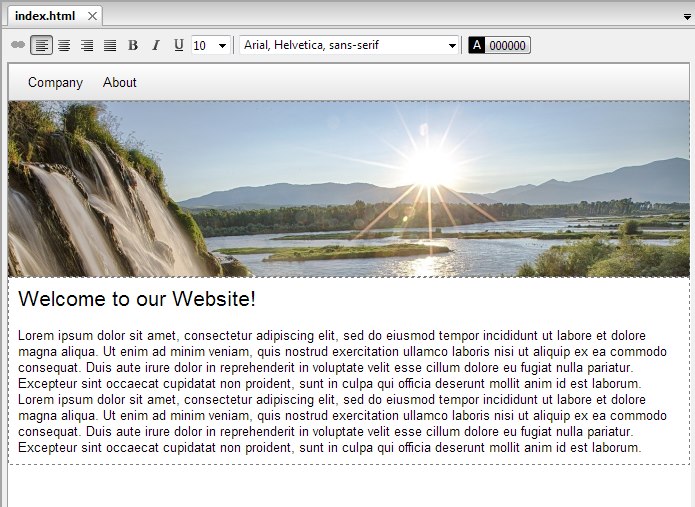
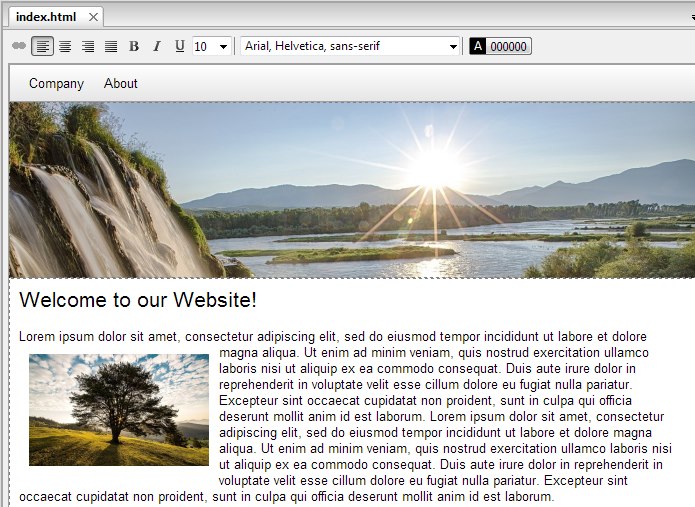
The result will look like this:
In the same way like how you added the image into the text, you can also add a Container directly into the text, for creating for example a box for news, and similar.
Your website is already responsive. You can preview it in any browser our in RocketCake itself, and resize it there, and see how it will adjust itself automatically.
Add other pages
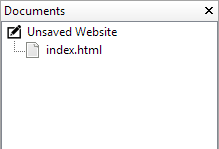
If you are finished with that page of your website, you might want to create a second page. Take a look at the top left 'Documents' window, where your only, initially named page 'index.html' is shown. Just right-click on the root element (probably named 'unsaved website' if you haven't saved it yet), and choose 'Add Page'. Alternatively, you can also use the menu command 'Insert -> Add to Project -> Add Page'.
A new page will open, which you can again fill with content. You can edit its name in the 'Properties' window.
Add hyperlinks
To add links between your pages or to other websites on the internet, you can create Hyperlinks. To do this, mark the part of the text you want to be the hyperlink, right-click on it and select 'Insert Hyperlink...'.

Alternatively, you can also use the hyperlink icon in the toolbar of the editor. This also works for images and styled buttons.
A dialog will now open where you can enter the URL of the hyperlink. You can also choose 'Page in this project' as Link type and then select another page in this website.
If you are creating a text link, there will also be a 'Style' section in that dialog. Here you can define and reuse global named styles for your links, if you want more then one or some special styles. Defining different hover colors, disabling underlined links and more is possible here.
Tips for improving the website
Of course, the website isn't finished yet. Here are some tips on how to improve it:
- If you want to add some text ontop of the logo image, select the "Floating Text" element and click onto the image. That's it.
- On small screens, the menu will automatically collapse to a smaller 'mobile' menu, which you can also change in the editor, if you make the sceen size a bit smaller using the slider on the bottom. This behavior can be influenced in the property window.
- For adjusting an element dynamically based on a smaller screen width, just right-click that element, and select "Edit Breakpoints". This will open the breakpoint editor, where you can easily specify rules in order to resize, hide or adjust elements based on the screen size.
Saving and Previewing the Website
To save your website, use the menu command 'File -> Save', so you can continue your work later on this page. You can also preview your website in your browser by clicking 'Publish -> Preview', or simply pressing the shortcut key F5.
Publish the website
Once you are finished with your website, you might want to publish it to an web server, so that other people can read it. You can simply use the "Publish -> Publish to the Internet" command for this, and enter the user name of your FTP server, where you want to upload the page.
Alternatively, you can use the command "Publish -> Publish to local disk". A dialog will appear to select a target directory. When you press OK, all HTML and image files will be generated on your disk, in the directory you selected. You now only need to upload these to your webserver or FTP server. For this you can use any FTP program. Ambiera recommends the free FTP client 'Filezilla' (http://filezilla-project.org/) or WinSCP (http://winscp.net/).