Back to Content
Creating a Camera Flight - Tutorial
This tutorial shows how to create a camera flight through a 3D world using the 'path' feature using Coppercube. The final application might look like this:
 The final application
Start - create your 3D scene
To start, we need a 3D scene where we can flight through with the camera. Import a 3D Model, add a skybox, lights and whatever you want until you like the 3D scene. In this example, I've used a lightmapped 3D model of a room, you can find it in the example directory with the filename lightmaps.ccb if you want to use it as well:
 A scene for this example
Defining the path
Once you have set up your scene, to the important part: We want the camera to move along a path in this example. So we need to create a path. For this, simply create a new path object: Click on the 'Scene editing' tab and click the path symbol to create a new path (Alternatively, use the menu: Edit -> Insert -> Create a Path).
In front of the current view, a new path with 3 nodes should appear:
 The created path
By selecting the nodes of the path, you can move them around and create the path you would like the camera to follow through the 3d scene. If you need more than 3 nodes in the path, simply click the 'create a path node' button in the 'scene editing tab' when the path is selected, or use the menu 'Edit -> Insert -> Create a path node'.
 The finished path
If you want the path to be a closed circle, go to the properties window of the path and enable the 'IsClosedCircle' option:
 How to move the camera target
In addition, you can also change the tighness of the path spline. A tighness of 0 for example will cause the path to be only straight lines.
Make a camera follow the path
So now we have defined a path but no camera is following it yet. Time to change this situation:
Simply create a new camera: Click on the 'Scene editing' tab and click the camera symbol to create a new camera (Alternatively, use the menu: Edit -> Insert -> Create a Camera).
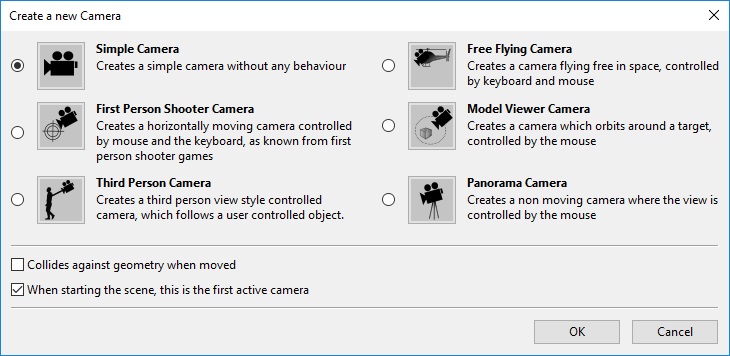
A dialog like this should appear:
 The camera creation dialog
Select the 'simple camera'. This creates a new camera and selects it.
Now go to the properties window of the camera, open the 'Behaviors' tab and click the '+' button to add a new behavior:
 Adding a 'Follow a Path' behavior
Select the 'Follow a Path' behavior.
This adds a behavior to the camera which makes the camera move along this path. You only need to tell it which path to follow: Select the path you created in the 'PathToFollow' slot. The path is probably named 'Path1'.
 Properties of the 'Follow Path' behavior
If you want the camera face into the movement direction, check the 'LookIntoMovementDirection' checkbox.
If you now uncheck the 'OnlyMoveWhenCameraActive' property, you will see the camera following the path in the editor already. But you can simply test your camera flight by testing your application (menu: Tools -> Test as Windows .exe or Flash .swf). If you have more than one camera in the scene, ensure that the camera with the follow path behavior has the setting 'active' enabled in the attributes tab of the property window.


